Now that the house is finished, it's time to start projects! (I can hear Bobby groan from afar) When we built our home, I made a lot of custom changes to the laundry room with the intent of adding a custom built-in bench/cubby, so this was one of the projects I have been most excited about in the house. Below are pictures showing how we built it start to finish. Lots of thanks to my brother Ben for ALL of your help with this project!!
SHOPPING - All of the materials for this project (with the small exception of the decorative hooks) were purchased at Lowe's for about $300. This is us loading all of the wood and supplies into the Tahoe, the morning that we started the project.

BEFORE - The empty space before we started this project. In the default house plan, this "nook" is actually divided into two small closets with regular closet doors. One small closet is the back half of this nook and opens into the office, whish is the room beyond the back of the nook and the from half was a small coat closet that opened up into the laundry room. I took out all of the walls and the doorway to make it one, large open space.

Building the Bench - To ensure the bench was as sturdy as possible and to end up with a very smooth painted finish, we built the bench with MDF. We glued two pieces of MDF together to make the legs, to guarantee this bench was super sturdy! The edge of the bench seat was routed to give it a decorative finish.
Installing the Bench - Rather than removing the baseboard altogether, we just cut out little sections of it and slid the legs into those gaps (if you look under the bench, there is still baseboard along the wall). Once the bench was in place, we used large deck screws and secured it to the studs in the back wall.


Building the Cubbies - The cubbies were built with a ower-grade 12" pine because the nice stuff was super expensive. We carefully checked each board at the store to make sure each was straight and then we did lots of sanding before even beginning to actually build. The actually assembly of this was fairly simple... we first built the outer box and then added the middle "shelf" and each of the dividers. This required lots of measurement double-checking and making sure the cubbies were square, but it was not very complicated.
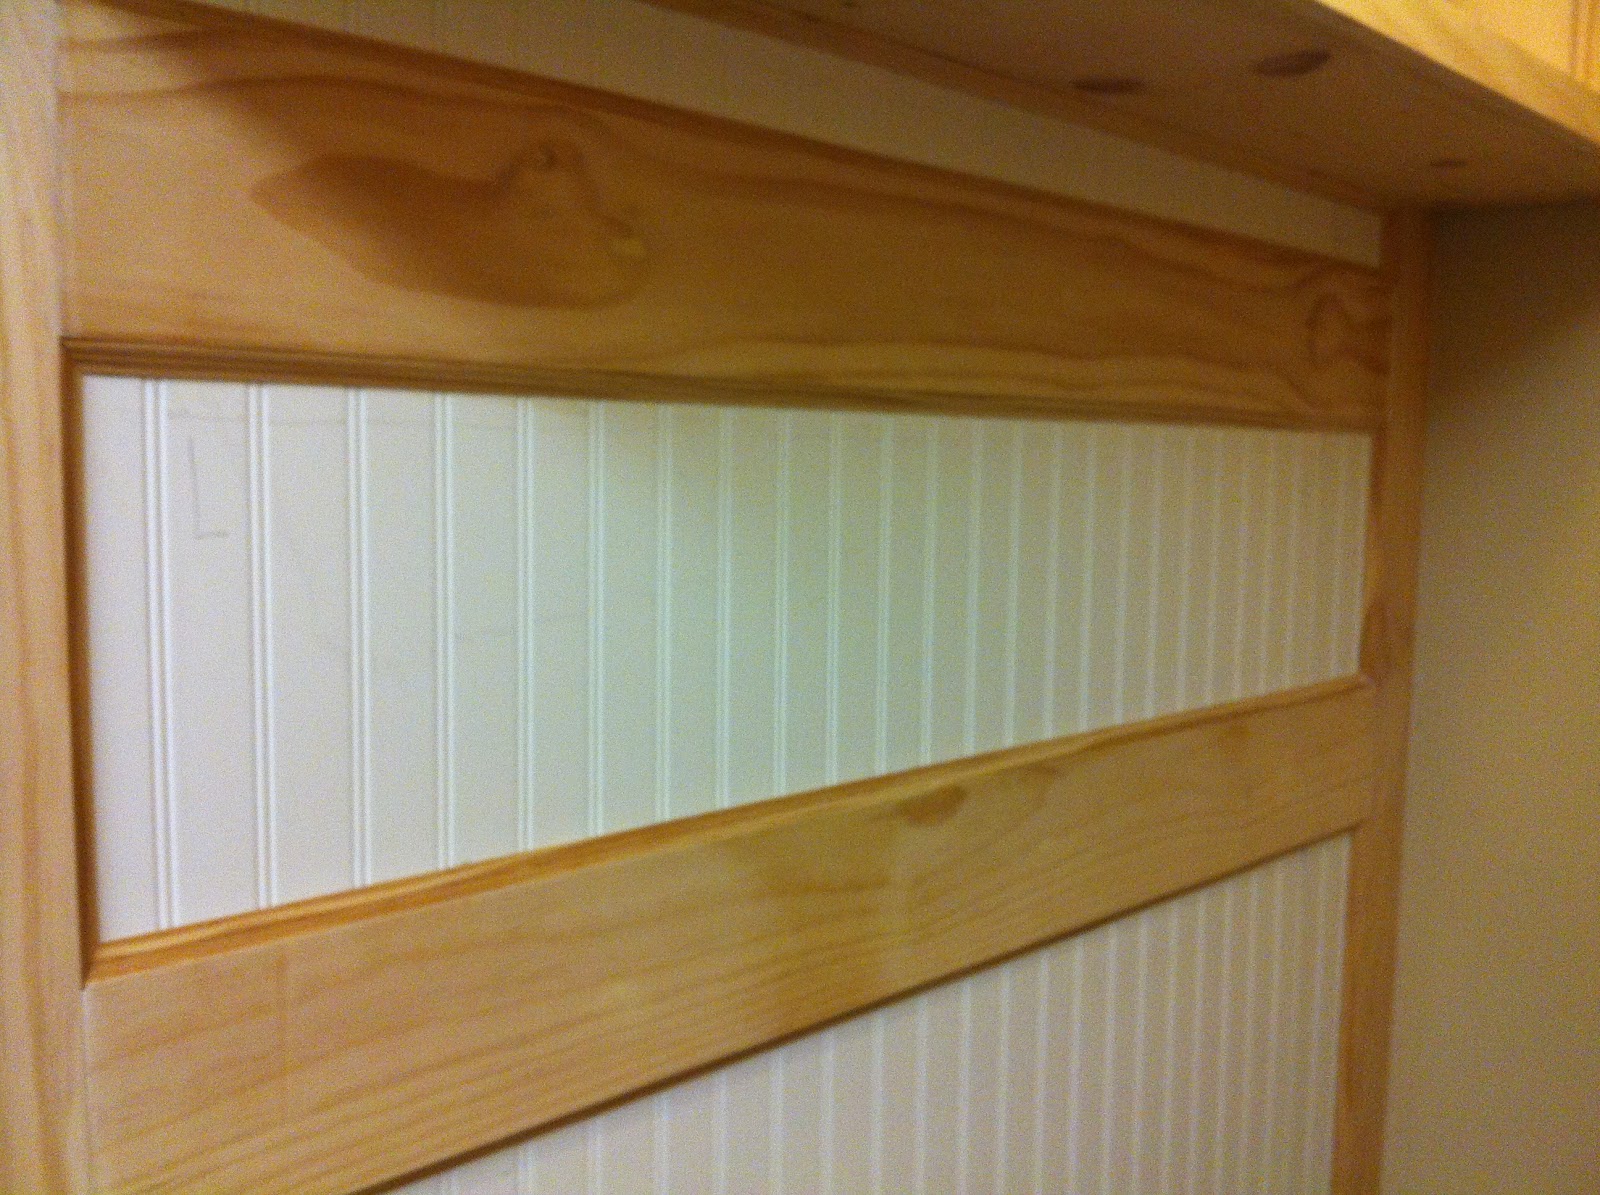
Adding the Back - The back of this bench is just pine boards (4" for the sides and 6" for the cross-pieces) glued and screwed to the walls, then "filled in" with beadboard that was cut to fit in between.

Caulk & Trim - To ensure the look of a custom built-in, I added trim all over this thing! I added crown moulding at the very top, 1x2 on the fronts of the cubbies and a small 11/16" decorative trim to the ends of the bench and cubbies and all around the bead board on the back part. It took forever (and multiplt trips to Lowes because I am terrible at math) but it was well worth it. Then, I went through the painstaking process of caulking every nook and cranny on this thing. This process took even longer than all of the trim, but again, was well worth it in order to achieve a smooth, finished look.


Primer - To ensure a smooth and duarable finish, I primed the entire thing. For all painting, I used a combination of a small, 1.5" brunsh and a 4" foam roller.

Painting - We bought the exact same paint that was used for all of the white trim in our house (Sherwin Williams - White Umber) so bench would truly look like a custom built-in with a seamless transition from the existing trim.


Hardware - The painting is all finished and ready for the hooks to be added. The hooks are a decorative oil rubbed bronze that I bought at Home Depot for about $5 each.


AFTER - The finished bench (minus baskets for the cubbies)!! We also need to replace the light because it gives off a terrible glow and blocks the cubbies!


Do you happen to have the measurements for this bench and what lengths you bought the boards in I would really like this to happen in my home so it would be great if you could share the Measurements and how much of each you bought. Thanks Peggi
ReplyDeleteLove this mudroom unit! Would it be possible to purchase the information as to the size of the unit and how to build it as well?
ReplyDelete